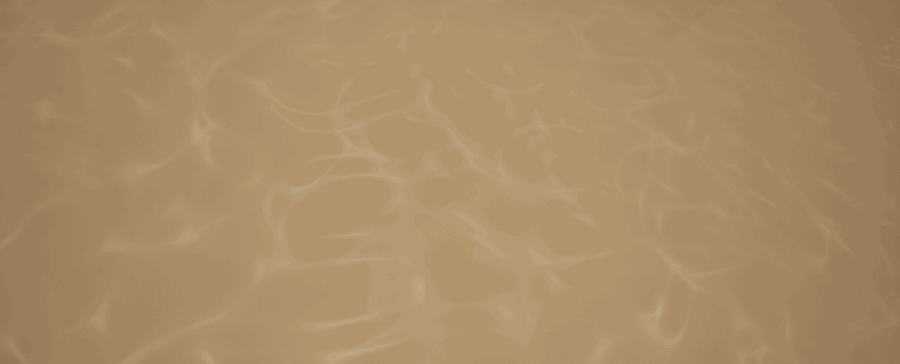
Inspiration
I have always been a fan of the sea and its inhabitants from fauna such as kelp to sea snakes all the way to jellyfish. If I cannot visit the sea, one of my favourite places to go is to aquariums, there is just something peaceful, calming and majestic about them.
I am not sure where I will end up making and finalising the project in Houdini, Unity or Unreal, so I thought I would combine them for now and see if I can integrate them together further down the line. Also, I might end up with a section of a reef or a simple fish tank, the purpose of this series is to experiment.
Project Process Overview:
Like with any creative/design based project I started off with loads of reference images for inspiration, which then led me to getting a general idea of the type of environment I wanted i.e. tropical, salt water etc. below are a few of the reference images I used for inspiration:
After getting some inspiration, I then devised a plan of action on what order I should do things in. I knew that I wanted a non-interactive demo of an underwater scene and that required:
Underwater terrain
Post-process effects i.e. water caustics (more like a light function but you know what I mean), fog, dust particles etc.
Optional:
Meshes i.e. plants (kelp, coral etc), rocks and so on…
Fish and other underwater inhabitants
So after writing this long list of requirements (software methodology pun), I decided to start with the terrain.
Terrain:
Like with all terrain’s they come with basic requirements such as:
Terrain
Terrain Size
Material
Format
etc.
So, from there I went in to Maya and made myself a nice segmented plane and exported that bad boy over to Mudbox and began to start sculpting out some slopes increasing the polygon/subdivision count as I go for more complex geometry part of the process can be seen below, bearing in mind at this stage, its just a rough draft:

High & Low Poly for displacement height map:

First Pass Height Map:

and hey presto! A nice height map that UE4 can use so I then imported the map using UE4’s awesome terrain importer but before I show you the result I thought I would first discuss the material I used, so that way I can show you it with a nice material applied.
Next up I decided to create simple semi-stylised sand texture in Substance Designer that I could then tweak in engine through exposed parameters (if you've read my previous posts, you'll know I love things that are procedural).
I won’t go in to much of the process as that this post is an overview plus if you know Substance, then you can probably determine what I did from the screenshot below:

I then imported my sand material into UE4 and applied it to the terrain and the result can be seen below:

Once I applied the material, I played around in the shader changing the LandscapeCoordMappingScale to create the effect I desired.
Post-Process Effects
From there I then started adding some PP effects to make it look as if it’s underwater, which turns out is not as easy as you think but an experience nonetheless. Which is going well here is what I have so far:

With Caustics:

After, some more tweaking and optimisation I ended up with some nice caustics that I could control in via the material, below you will see a first pass:

Stay tuned and locked in to this space as I will be updating it with my next iteration in this experimenting series soon!


Comments